


Blog
The Beginner’s Guide to Creating Mock-ups with Smart Objects and Shadows

Apr


Introduction:
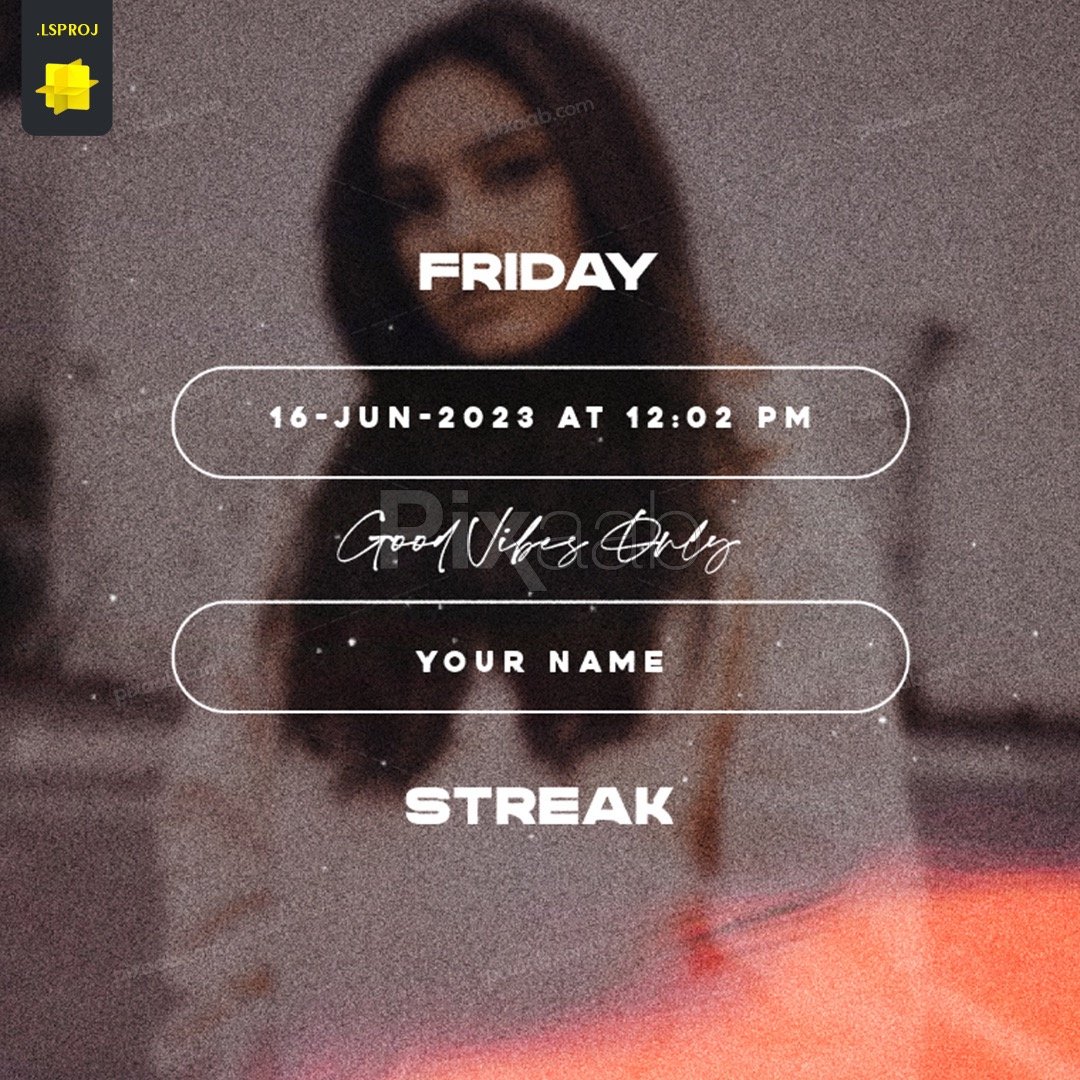
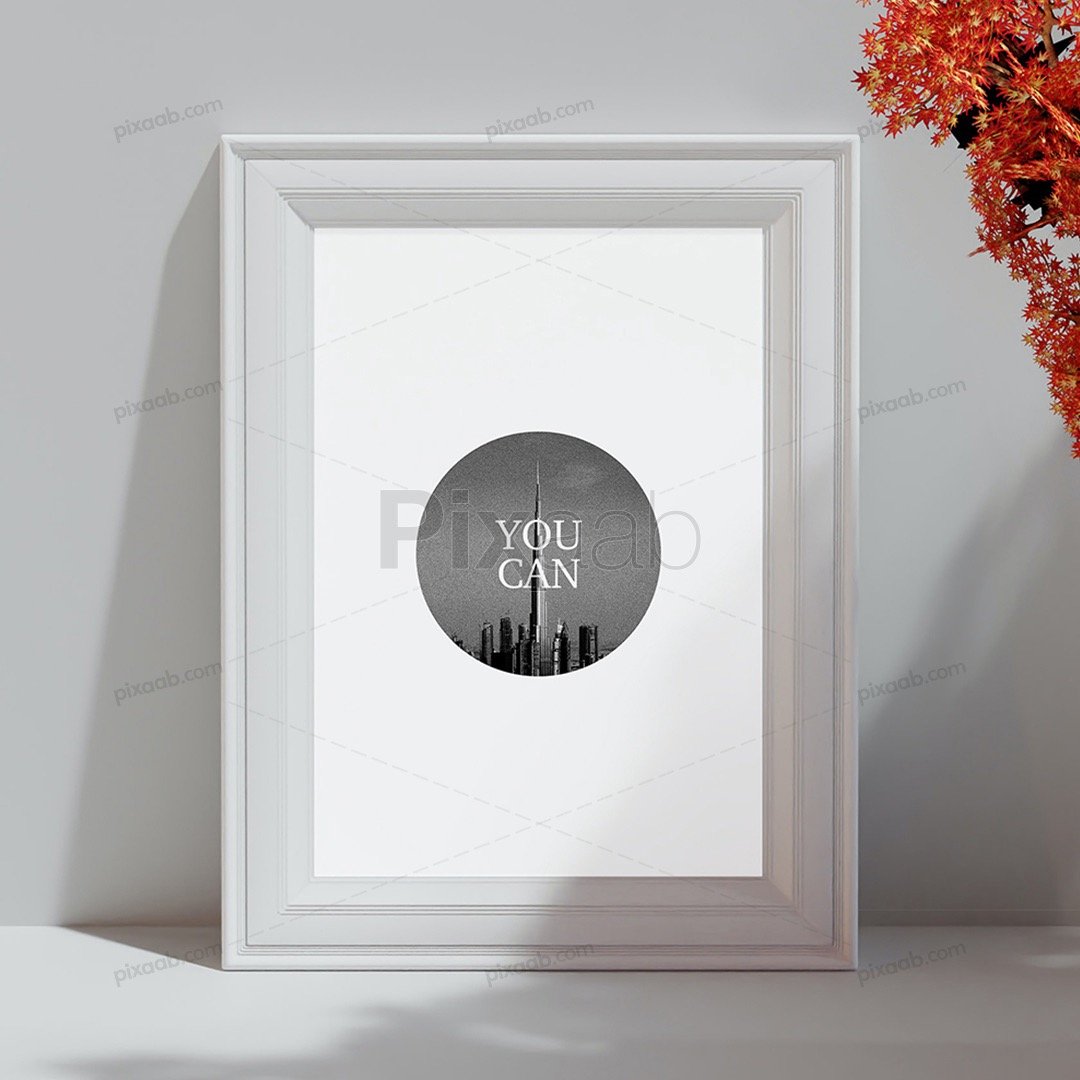
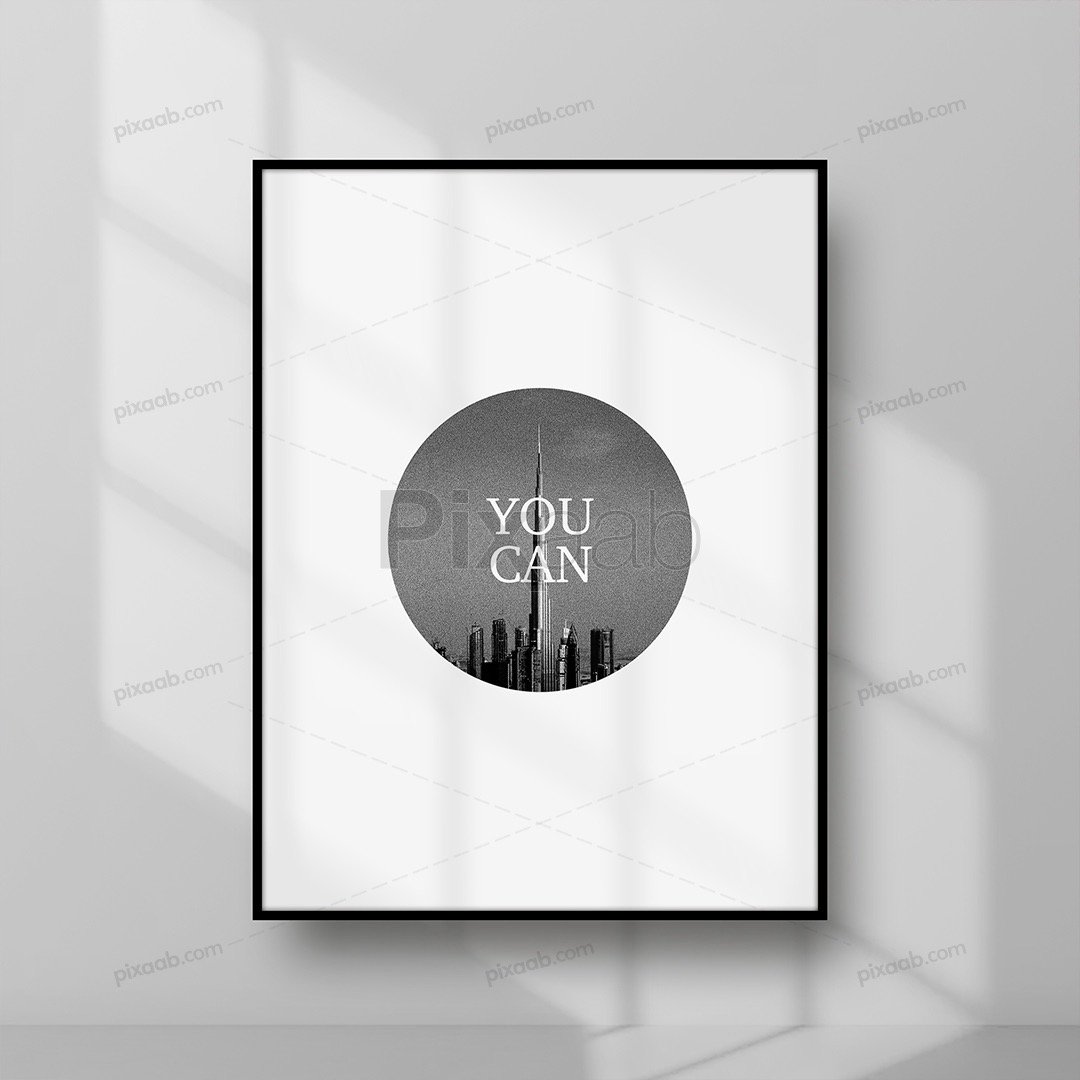
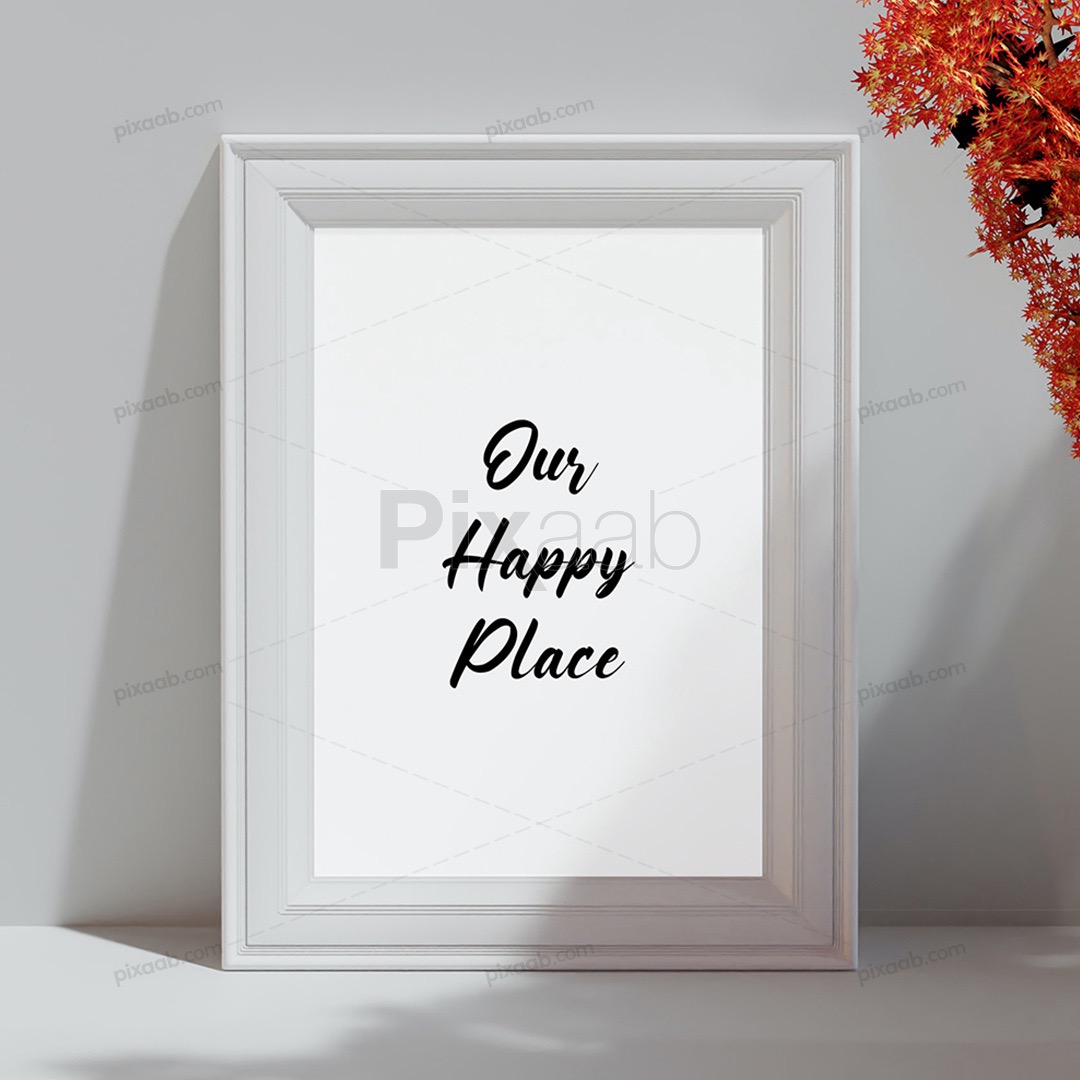
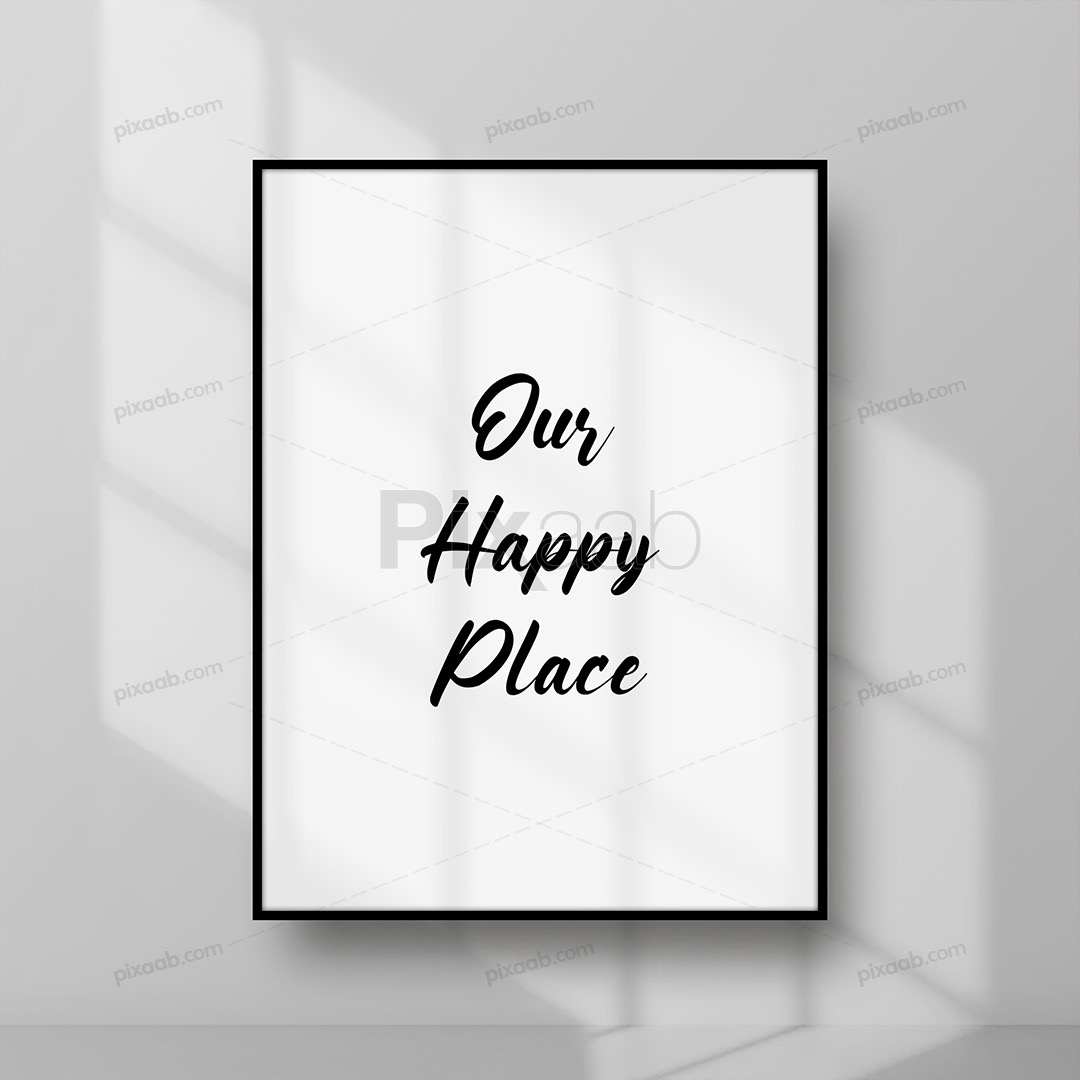
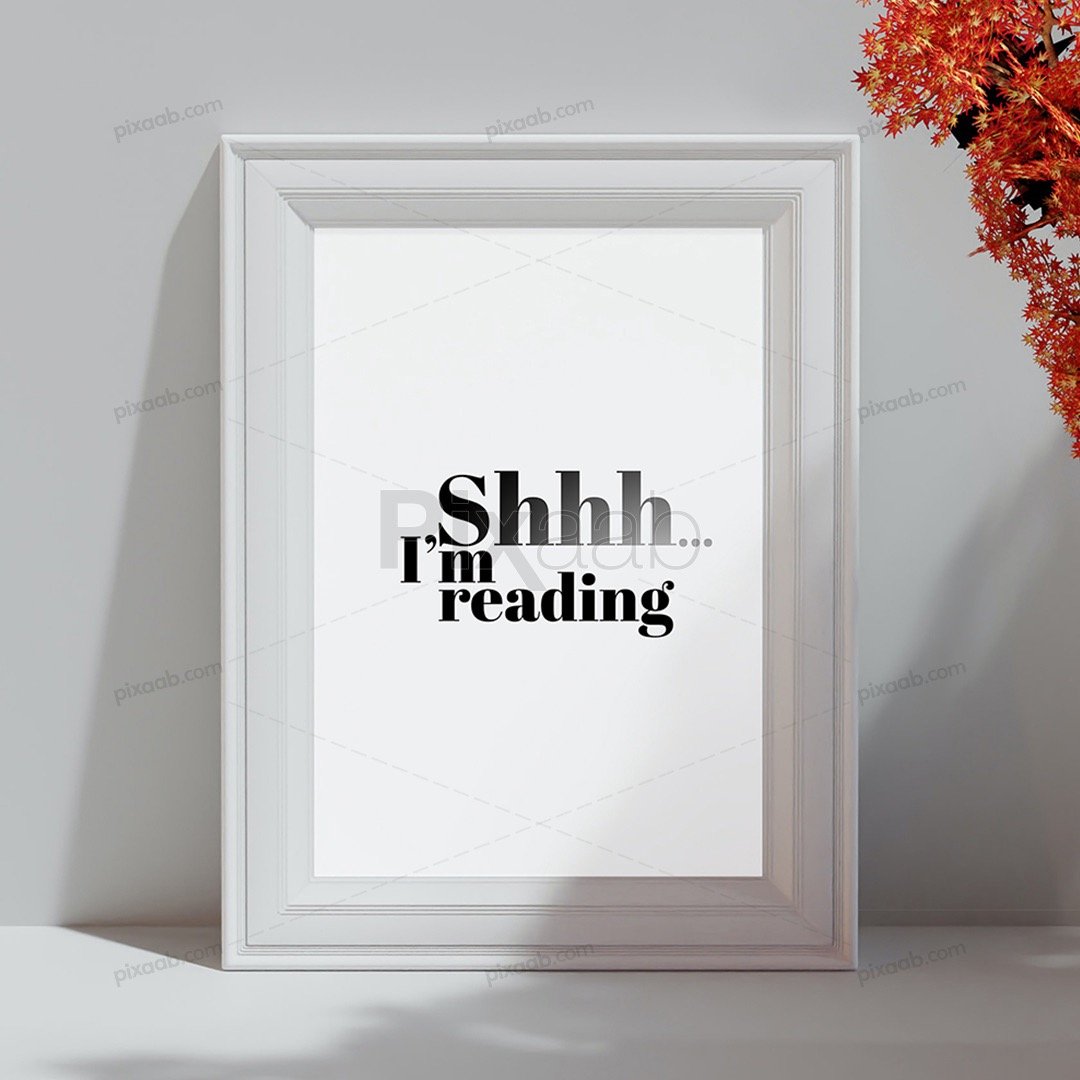
Creating professional-looking mock-ups can greatly enhance your design projects, whether you’re showcasing your artwork, presenting product designs to clients, or promoting your business. In this guide, we’ll walk you through the process of creating mock-ups from scratch using smart objects and shadows, making it easy to replace designs and customize your mock-ups to suit your needs.
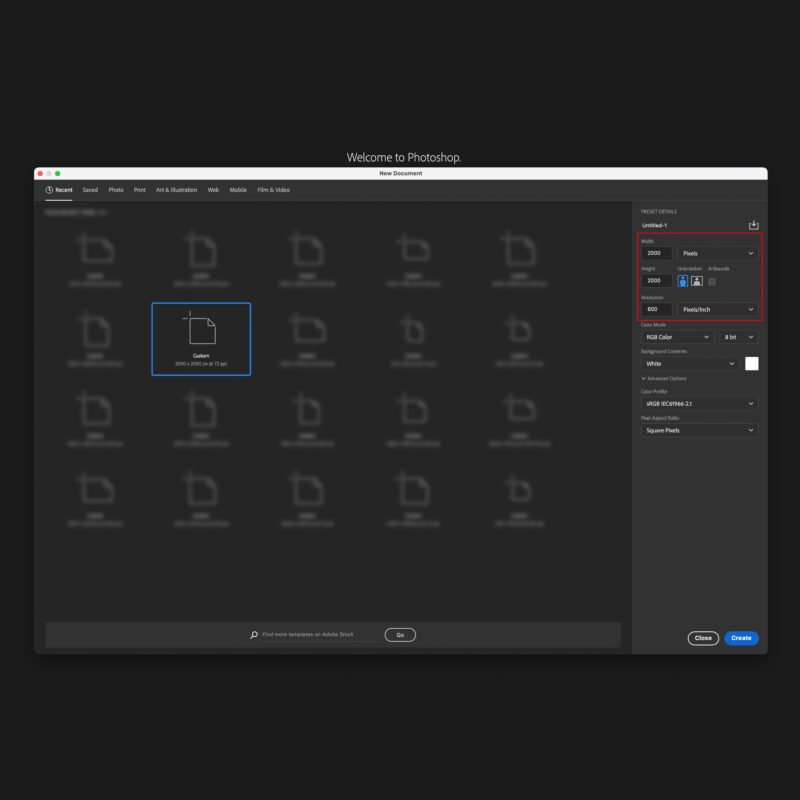
- Select Software: Choose a graphic design software that supports layers and smart objects. Adobe Photoshop is the most commonly used for this purpose, but other software like GIMP or Affinity Photo can also work.
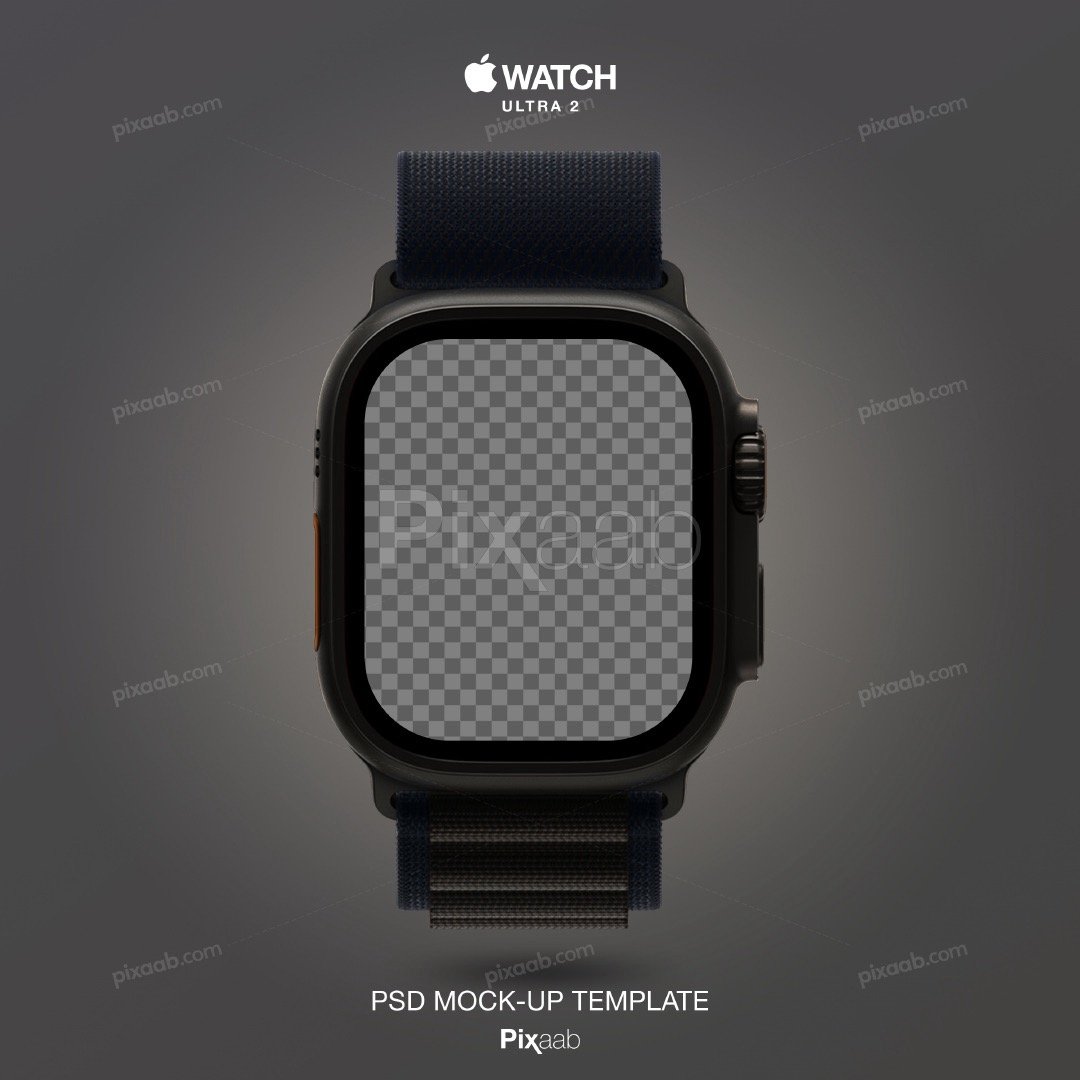
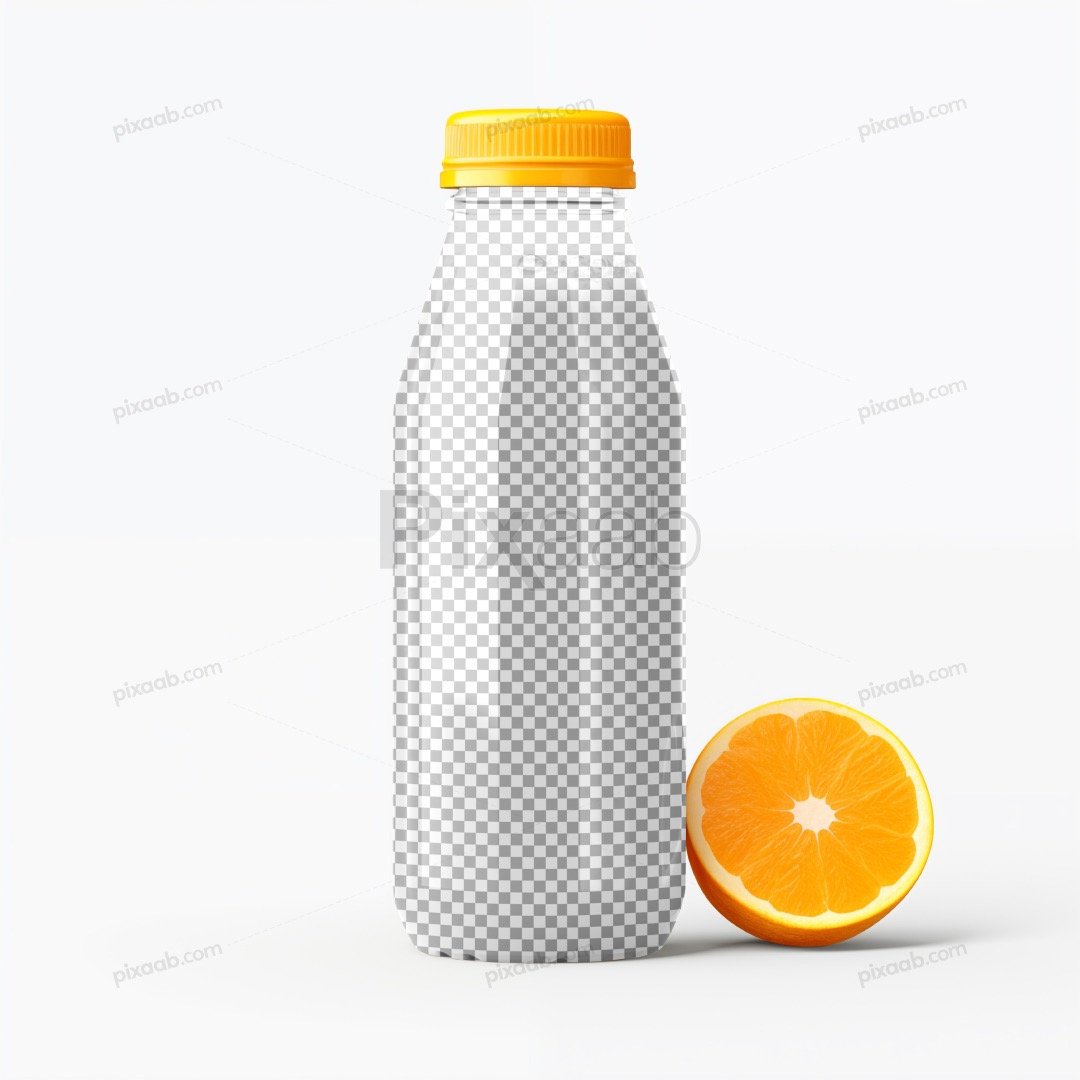
- Set Up Document: Create a new document in your chosen software with dimensions suitable for your product. For example, if you’re creating a mock-up for a mug, you might start with a canvas size of 2000×2000 pixels.
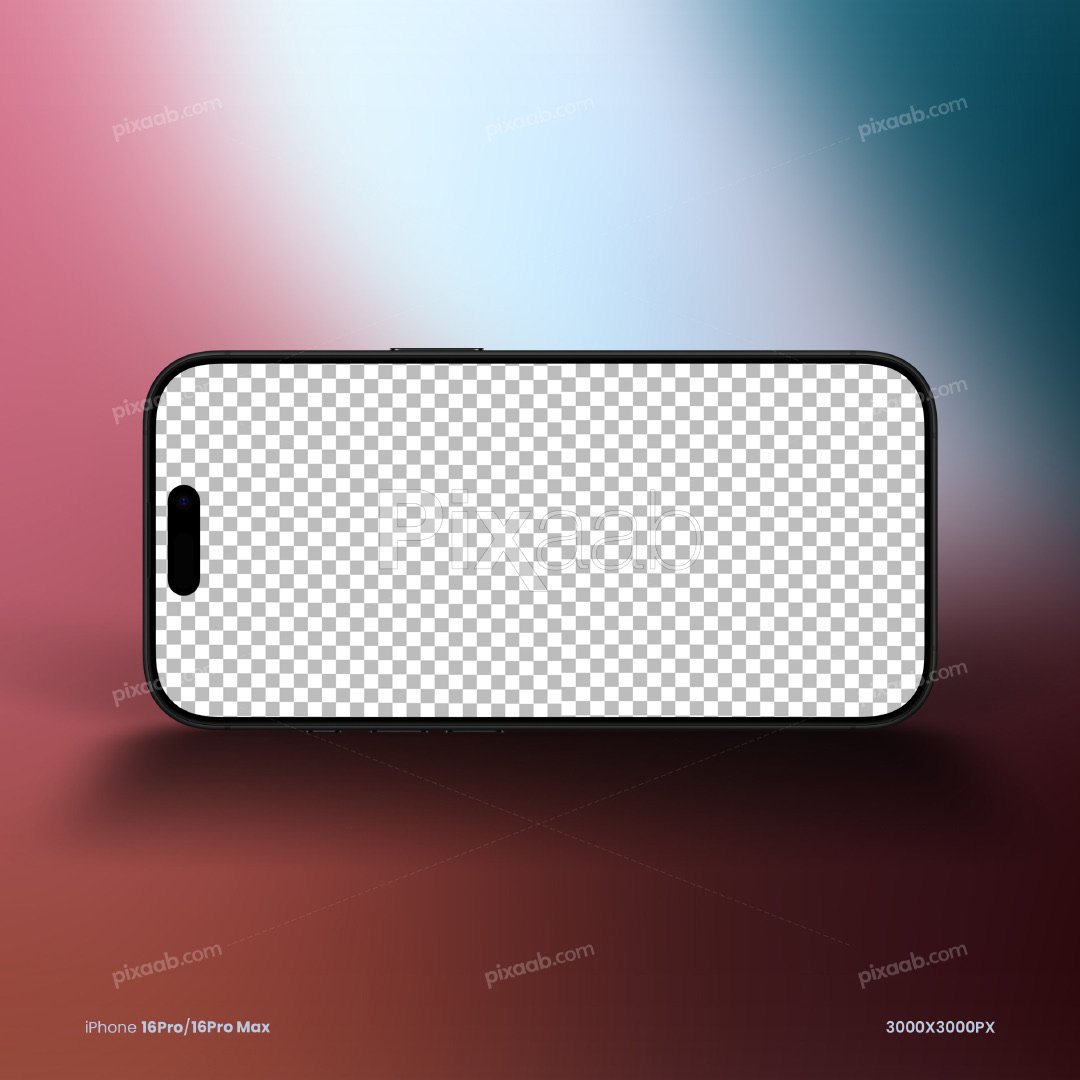
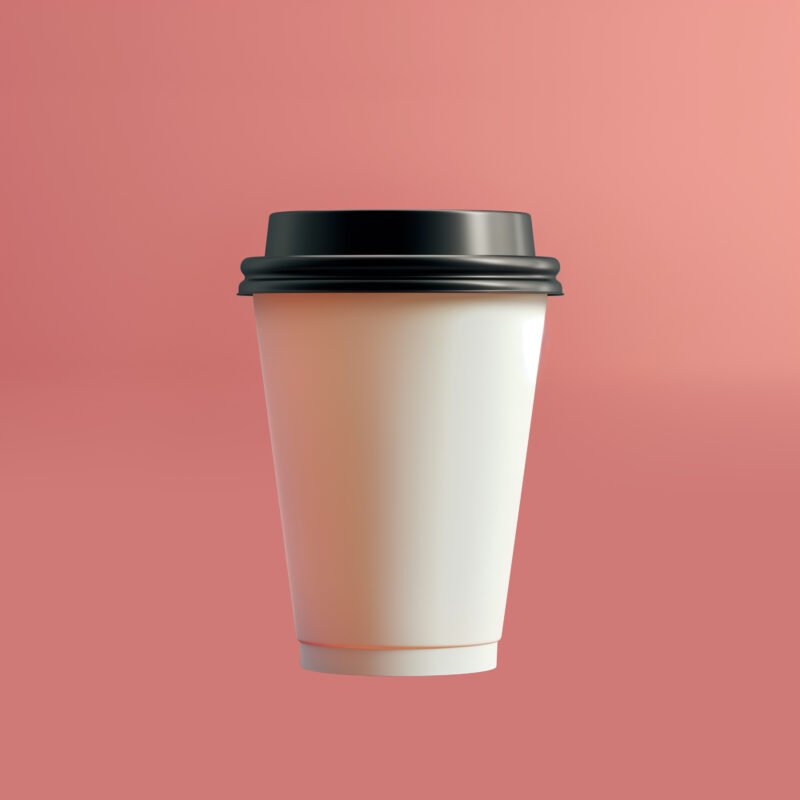
- Import Product Image: Place the image of your product onto the canvas. This could be a photo or a 3D rendering of the product.
- Add Shadow: Create a new layer beneath the product layer. Use tools like the brush or gradient tool to draw a soft shadow beneath the product. Adjust the opacity and blur of the shadow layer to make it look realistic.

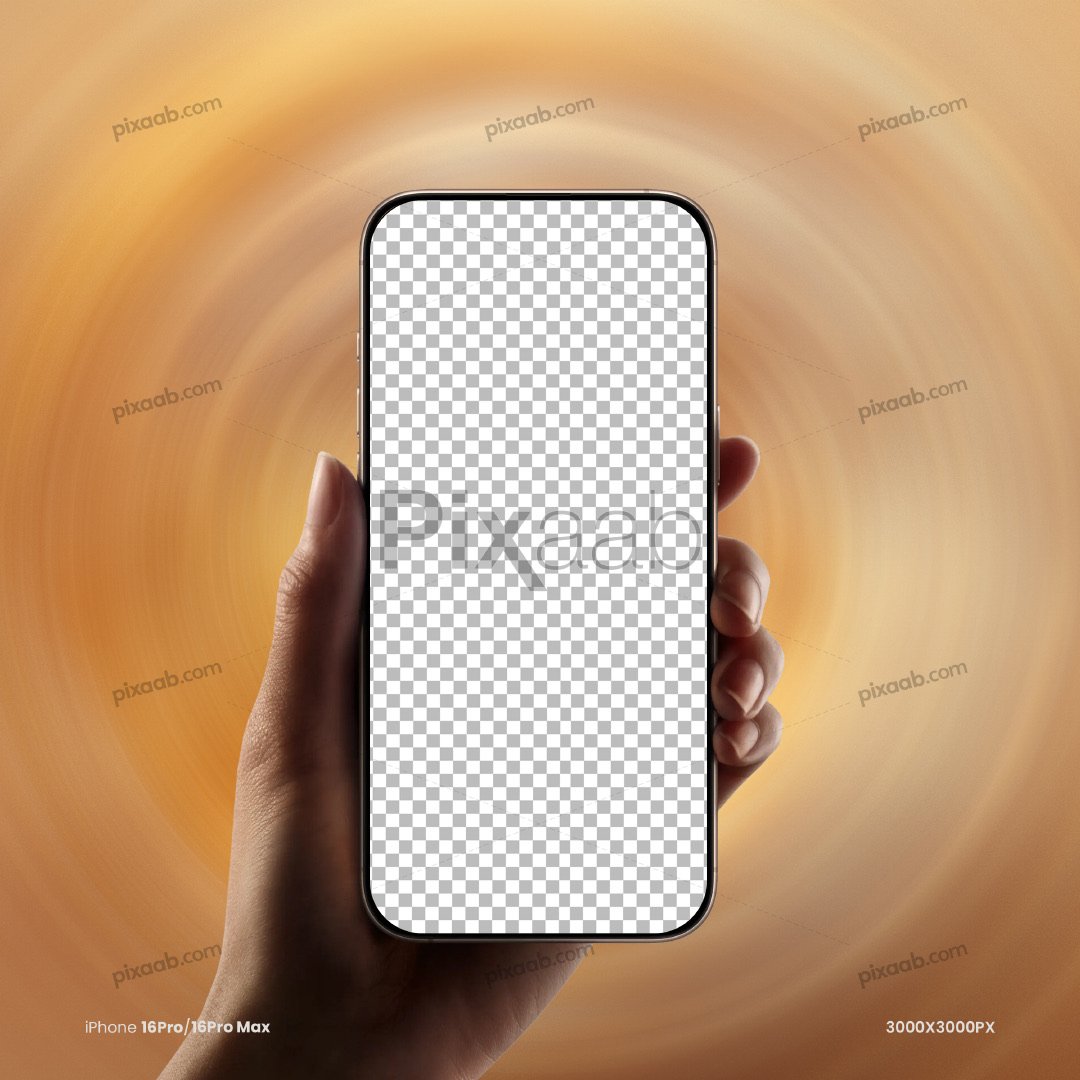
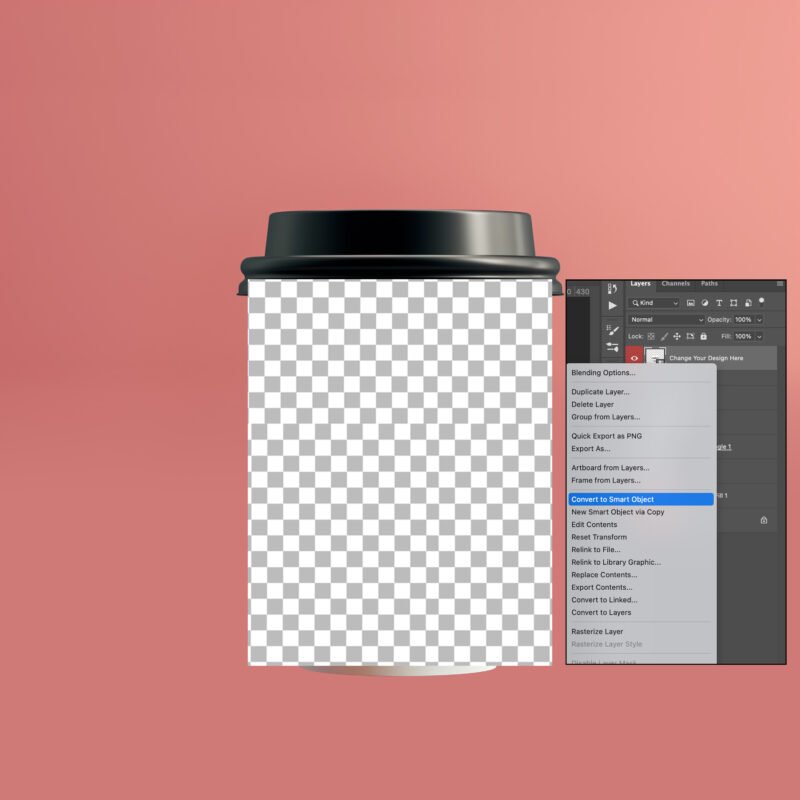
- Create Smart Object: Select the product layer, right-click, and choose “Convert to Smart Object.” This will allow you to easily replace the design on the product without affecting its quality.
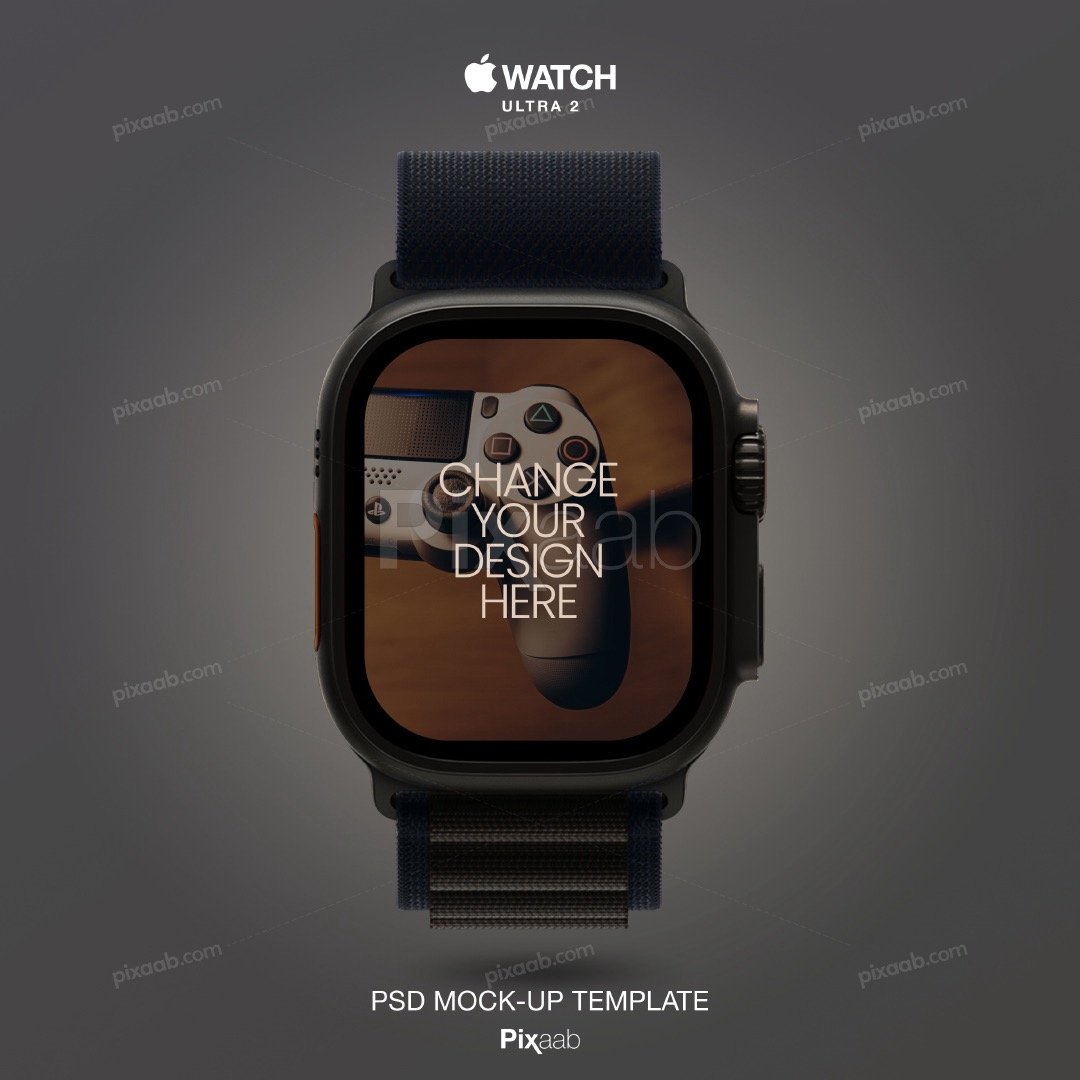
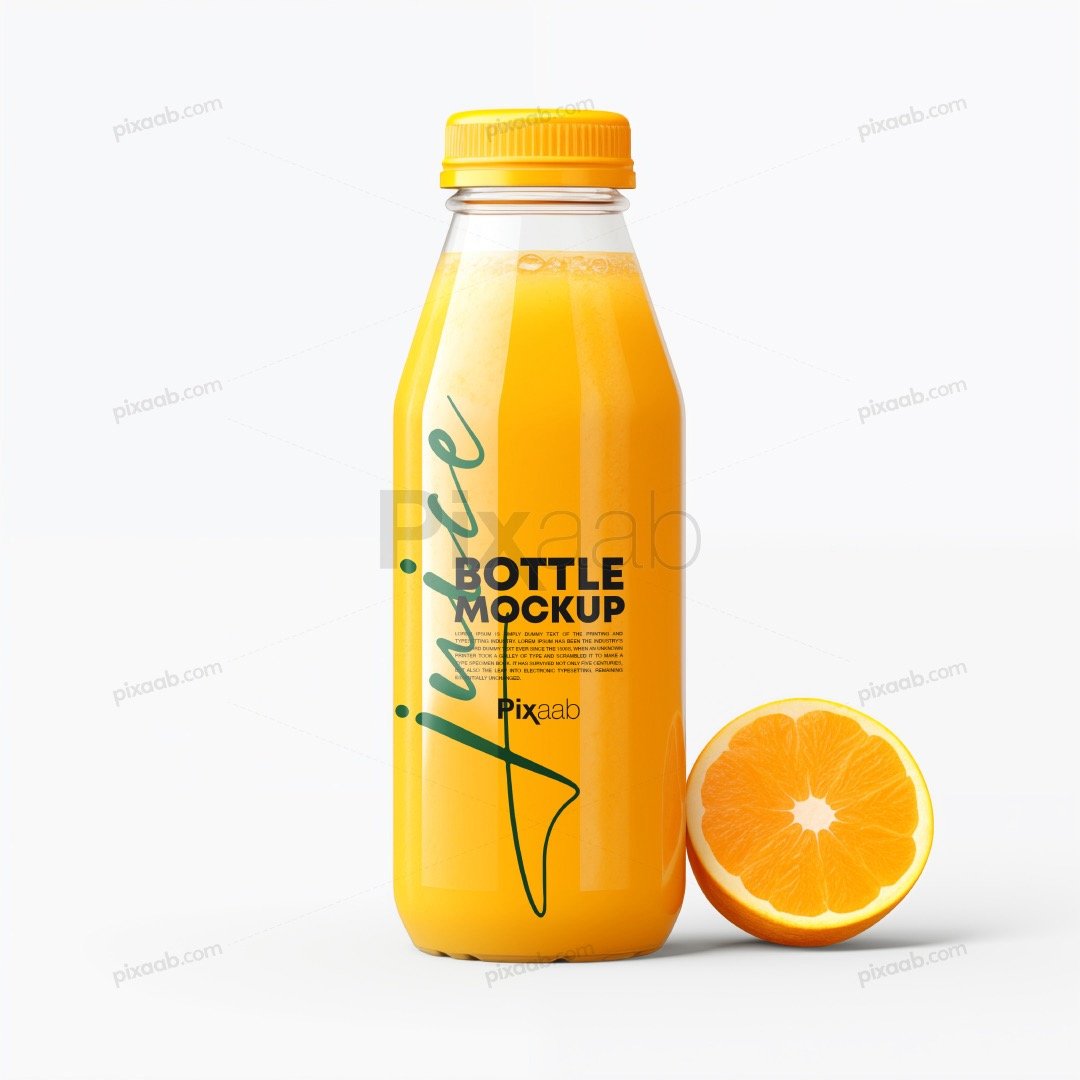
- Design Replacement: Double-click on the smart object layer to open it in a new window. This window represents the contents of the smart object. Here, you can add your design by either pasting it from another document or creating it from scratch.
- Save and Close: Once you’ve added your design to the smart object, save the changes and close the smart object window. Your main mock-up document will update automatically with the new design.
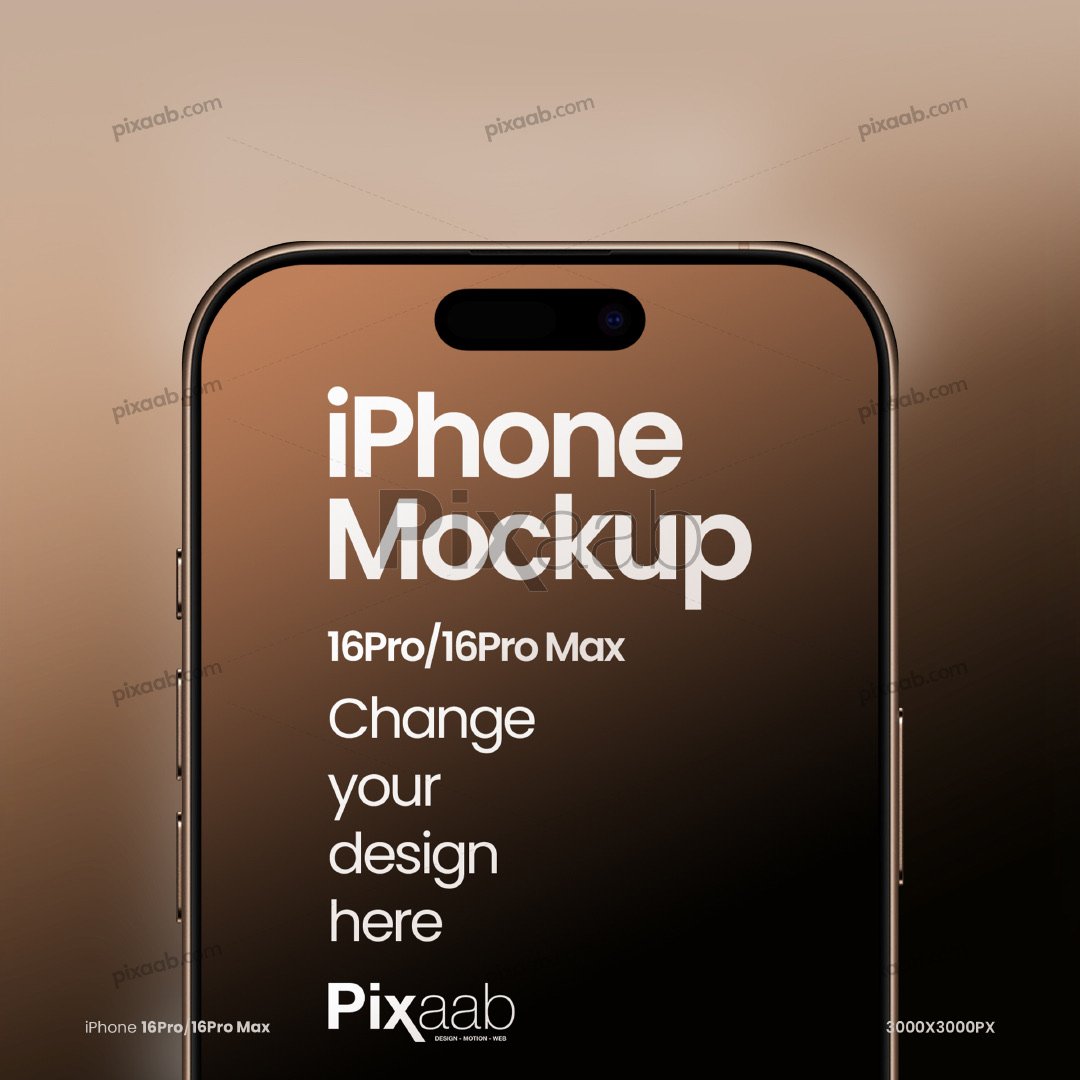
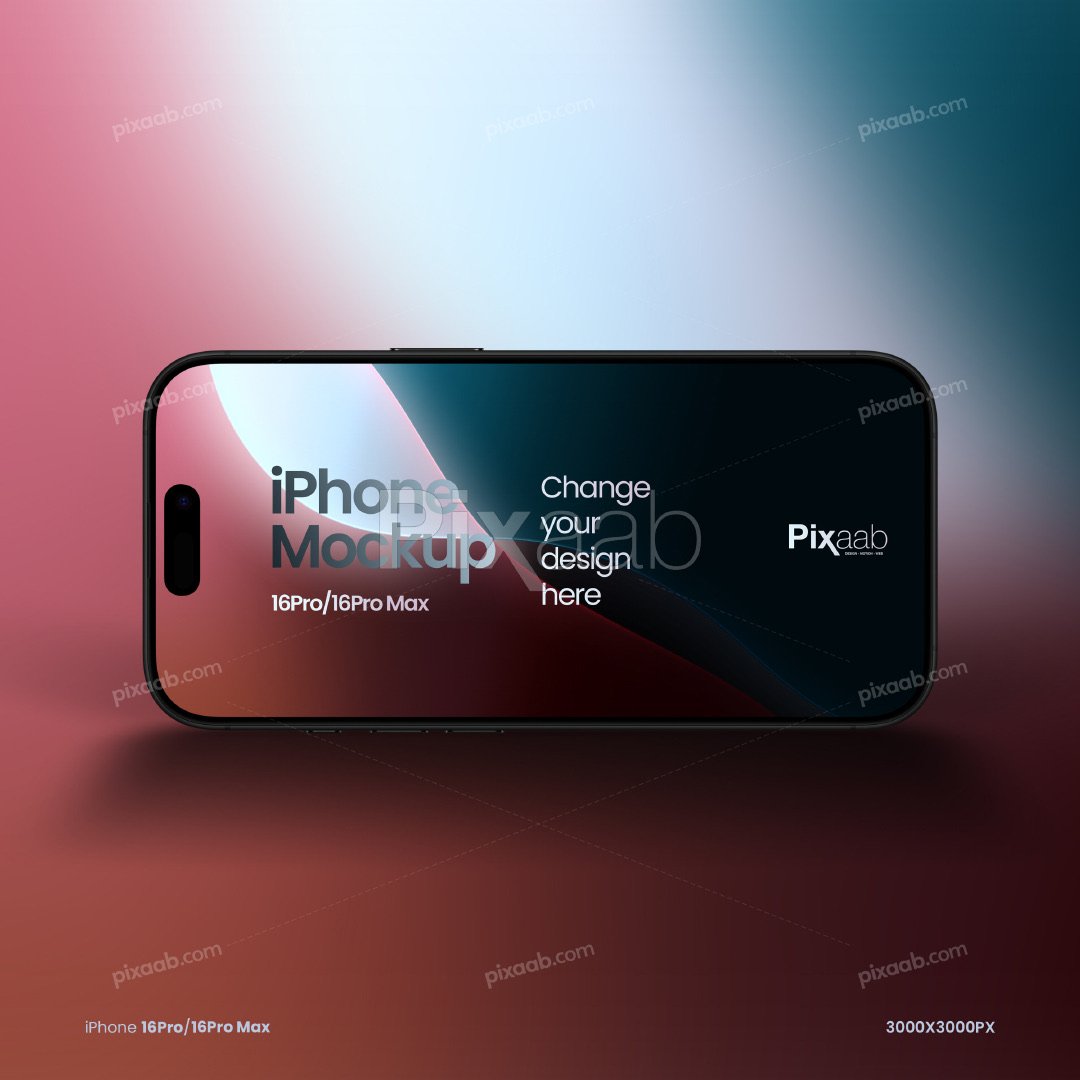
- Adjust Position and Scale: Back in the main document, you can adjust the position, rotation, and scale of the design layer to fit the product properly.
- Finishing Touches: Add any additional elements or effects to enhance the mock-up, such as background colors, textures, or lighting effects.
- Save Your Mock-up: ave your mock-up as a high-quality image file (e.g., JPEG or PNG) for sharing or printing.
Creating mock-ups from scratch using smart objects and shadows is a valuable skill for designers and business owners alike. With the ability to easily replace designs and customize mock-ups to your liking, you can create professional-looking presentations that leave a lasting impression on your audience.
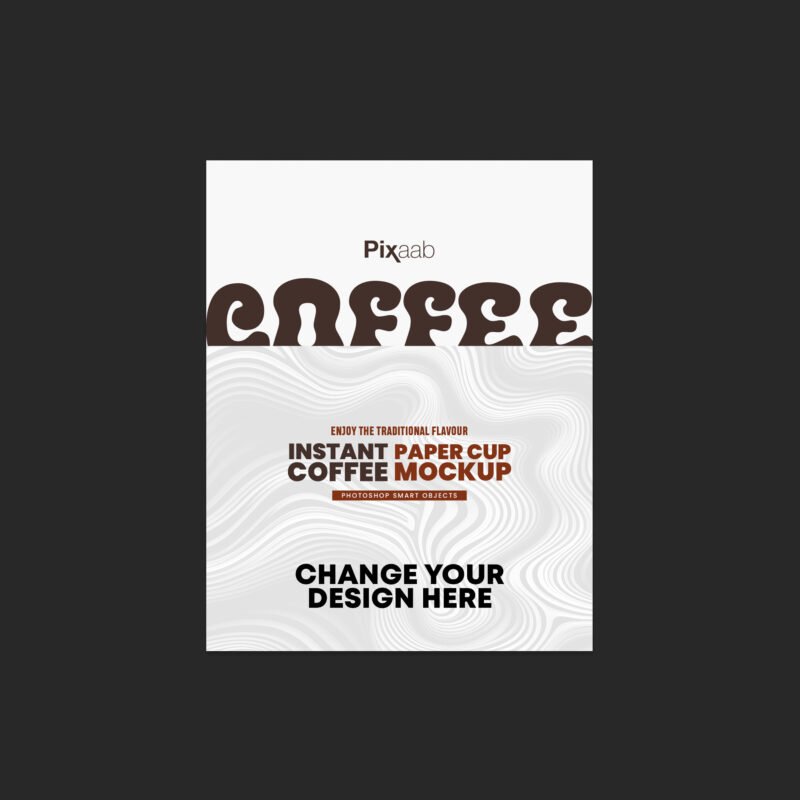
If you’re looking for a library of premium pre-made design templates to enhance your creative projects, look no further than Pixaab.com. With a wide range of templates for album cover art, mockups, Snapchat lenses, and printable art, Pixaab.com offers quick and convenient solutions for your design needs. Browse through their extensive collection, customize your chosen designs, and receive high-quality JPG files within 24 hours. Save time and money with Pixaab.com’s user-friendly platform, designed to elevate your creative endeavors.