


Blog
How to Upload Snapchat Lens to Community Lens Using Lens Studio

Jun


Step-by-Step Guide : Uploading a Snapchat Lens to Community Lens Using Lens Studio.
Step 1 – Download a Lens Template
You can download a Snapchat lens template from www.pixaab.com. Once downloaded, extract the files from the zip archive on your Mac or PC.
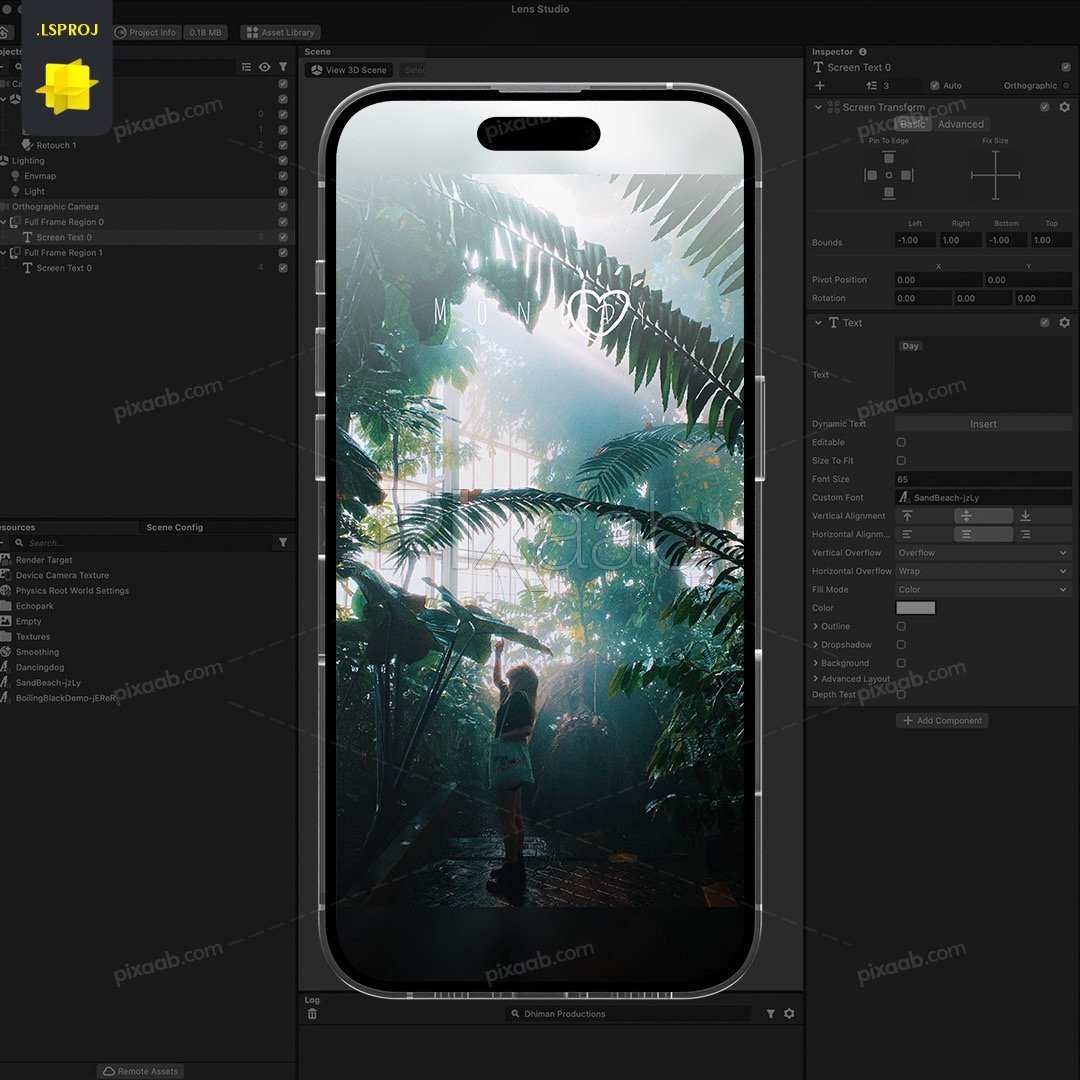
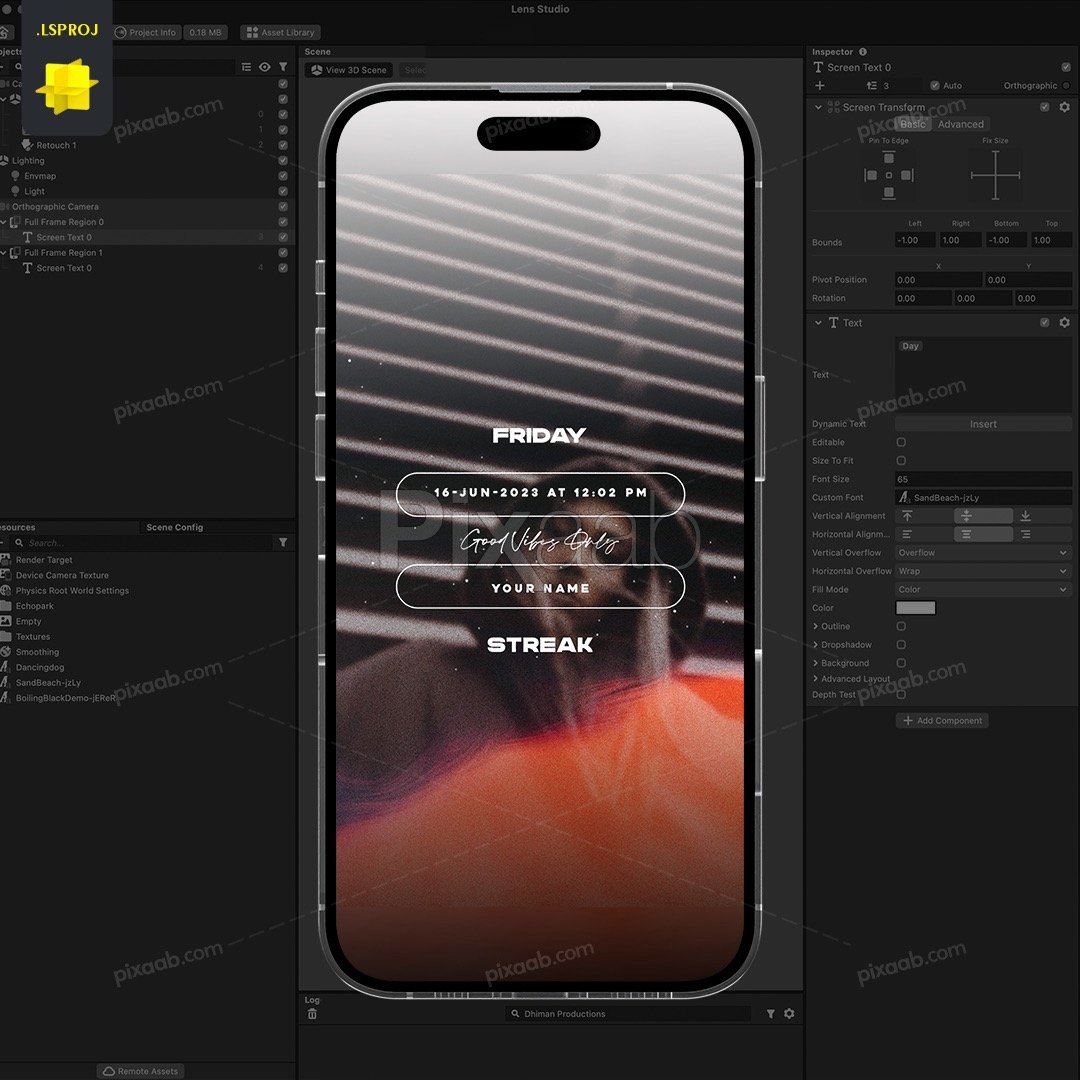
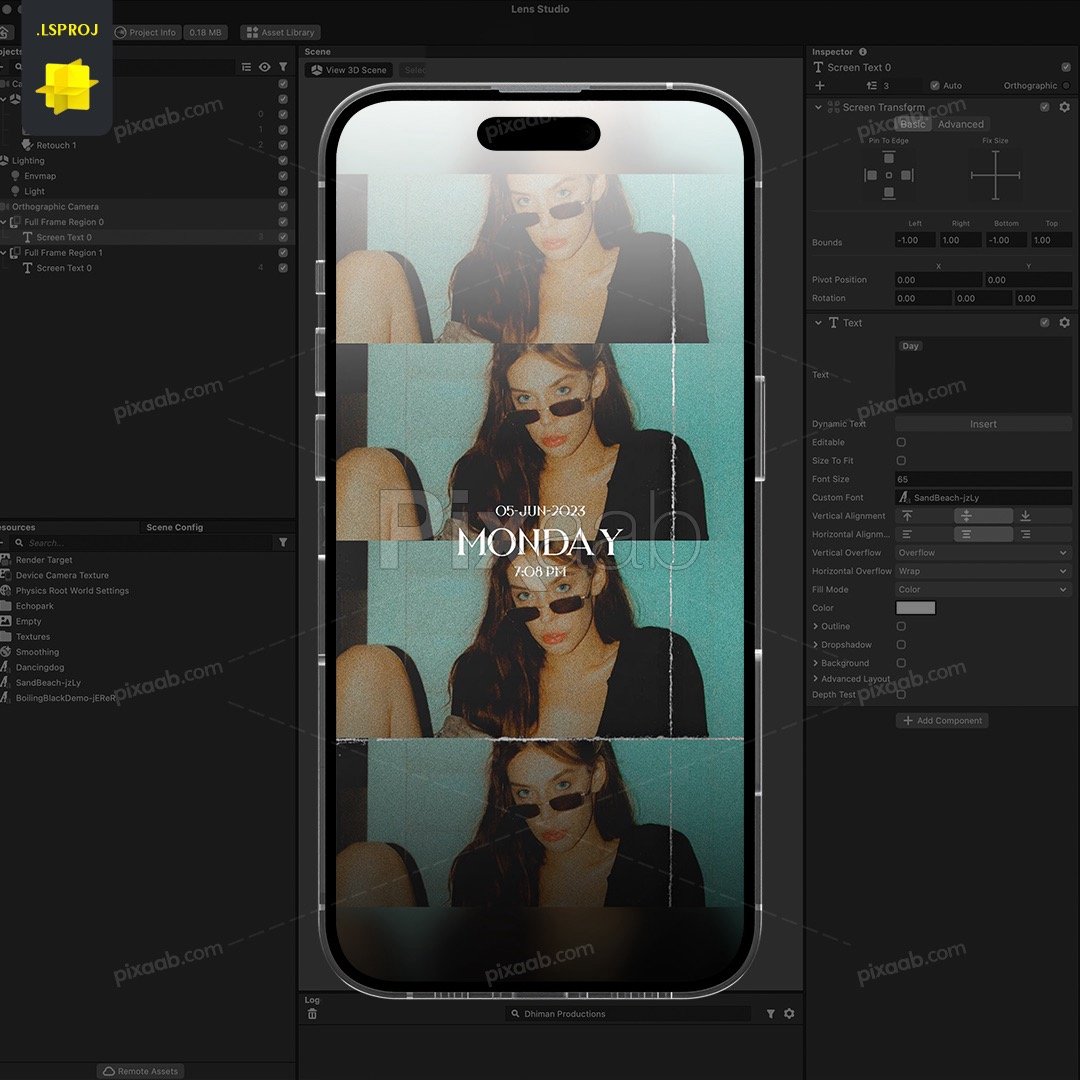
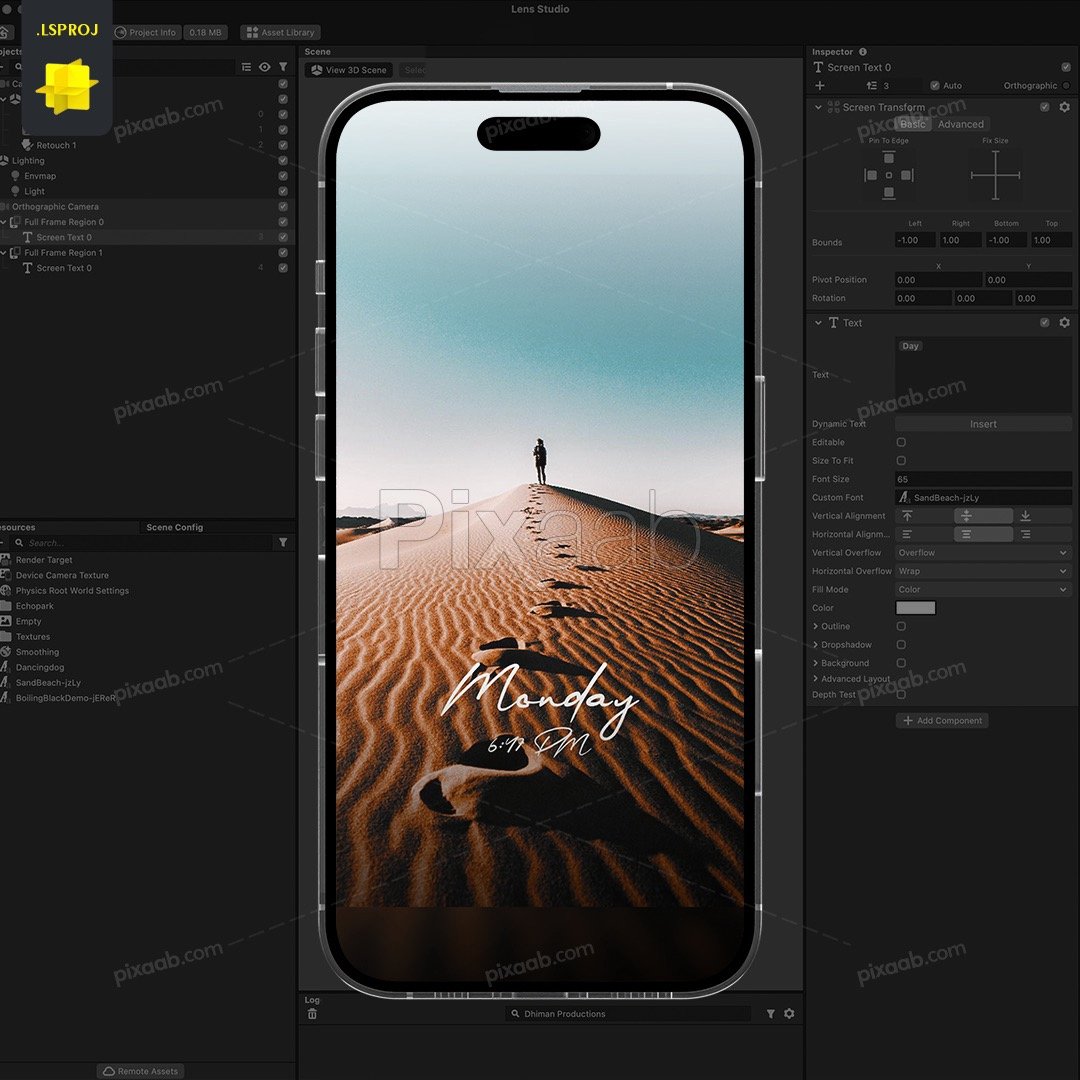
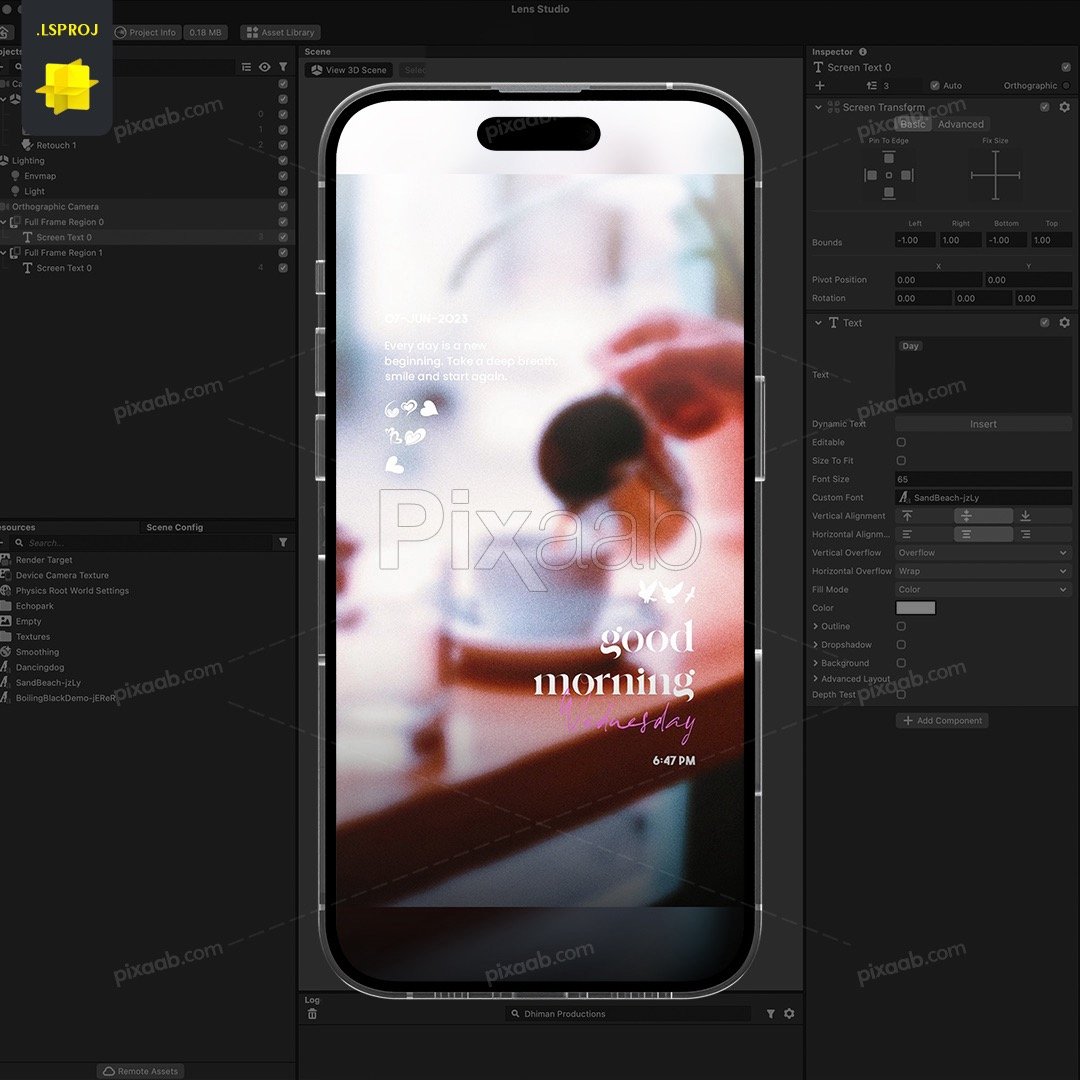
Step 2 – Open the Template in Lens Studio
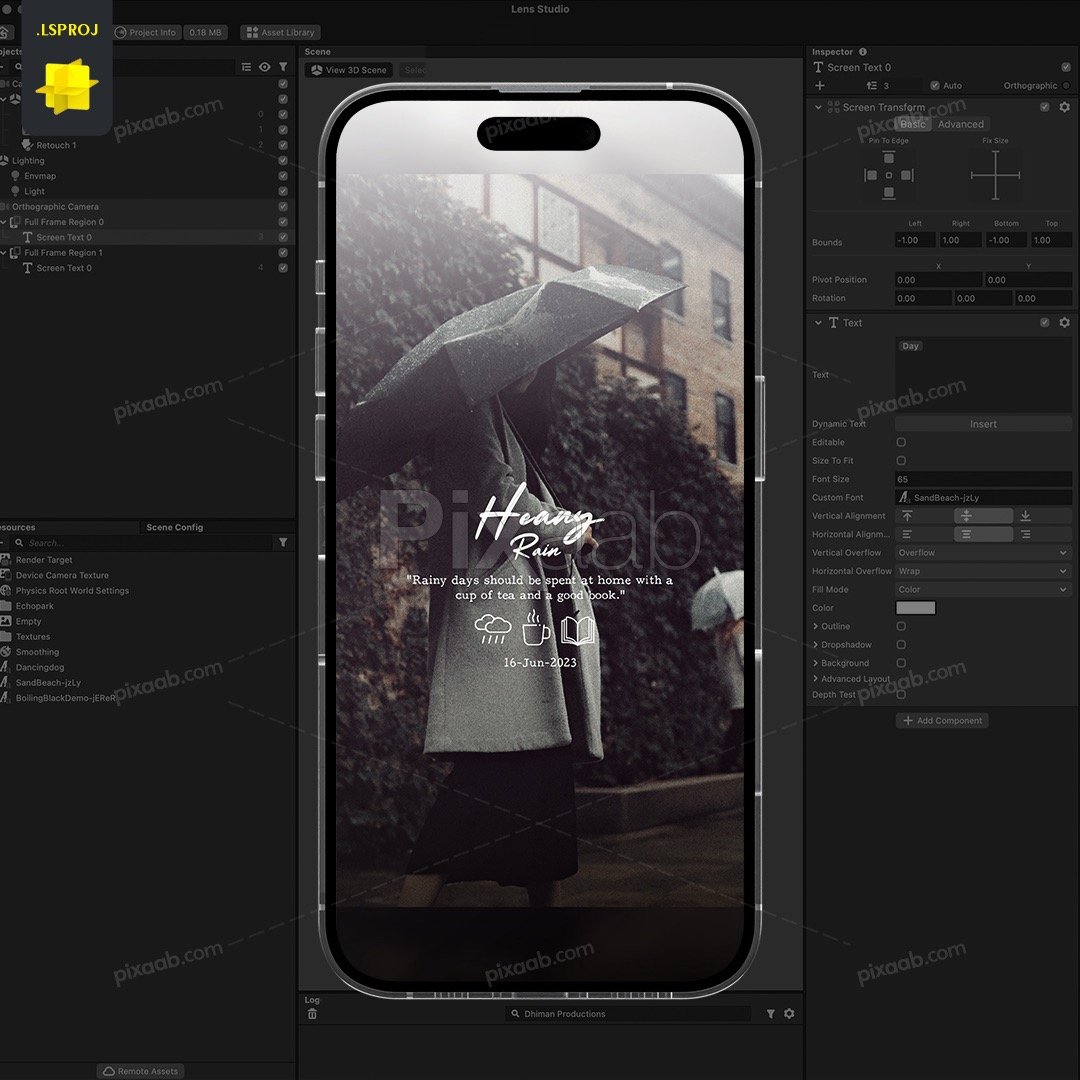
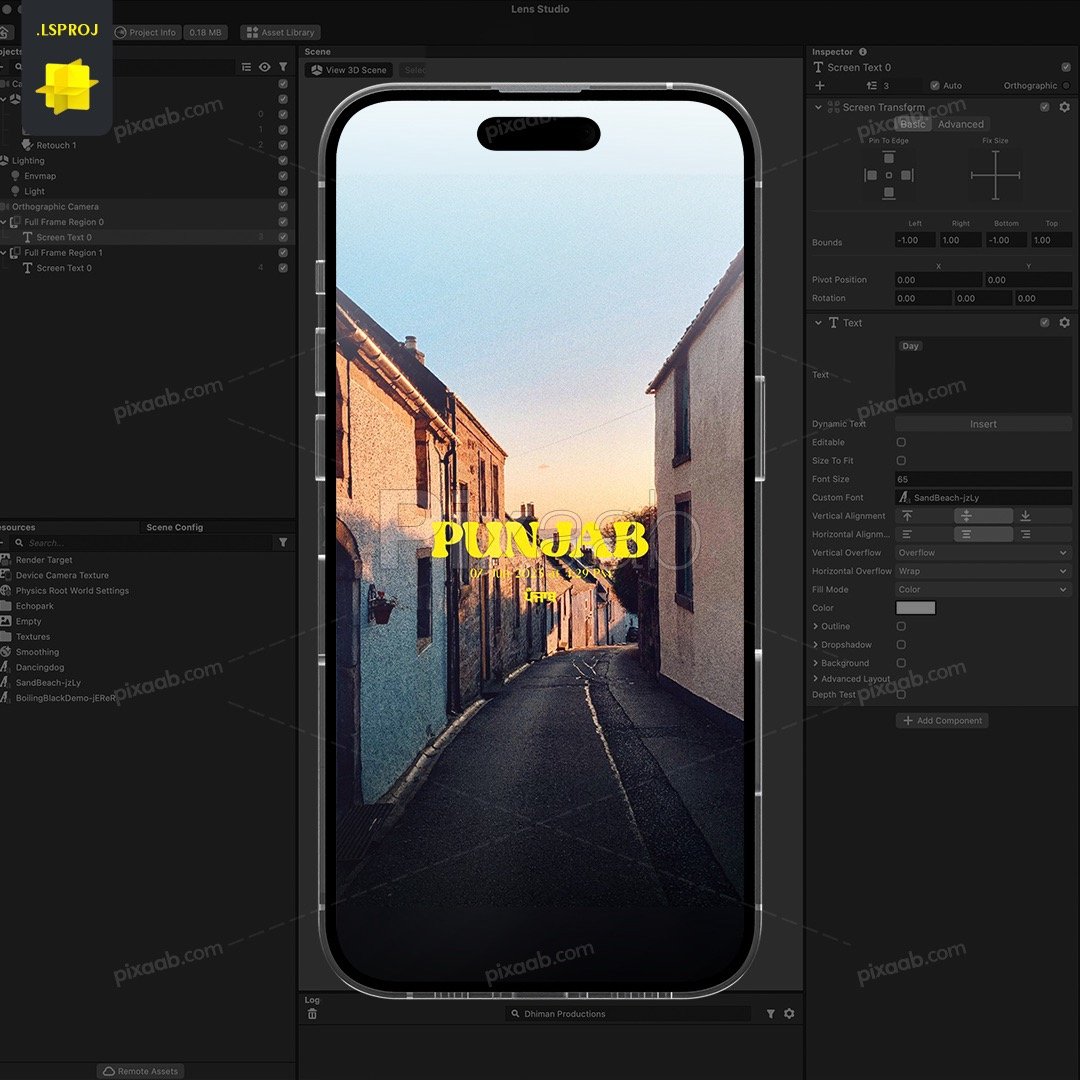
In Lens Studio, click on “File” and select “Open.” Browse to the location where you extracted the template files and open the Lens Studio project file (.lsproj). The template will open in Lens Studio, allowing you to customize and modify it according to your preferences.
Step 3 – Test and Preview
With your lens template open, use Lens Studio’s preview feature to test the lens on your phone. Connect your phone to your computer and use the Snapchat app to scan the Snapcode provided in Lens Studio. Ensure that the lens functions as expected and make any necessary adjustments to achieve the desired effect.
Step 4 – Set Icon and Preview
In Lens Studio, navigate to the “Project Info” section. Here, you can set the icon and preview image or video that will represent your lens. Choose captivating visuals that accurately reflect the essence of your lens and entice users to try it out.
Step 5 – Lens Publishing
Once you are satisfied with your lens, it’s time to publish it. In Lens Studio, navigate to the “Project Info” section and provide essential details about your lens, such as its name, description, and category. Additionally, select the appropriate demographic information that aligns with your lens’s target audience.
Step 6 – Uploading to Community Lens
After filling in the necessary project information, select the “Upload to Community Lens” button. This will prompt Lens Studio to package your lens and generate a Snapcode for it. This Snapcode will allow Snapchat users to easily discover and use your lens.
Step 7 – Lens Submission
Next, you’ll need to submit your lens for review by Snapchat. Ensure that your lens adheres to Snapchat’s Lens Studio guidelines and community standards. Once you’ve reviewed your lens submission and confirmed its compliance, click on the “Submit for Review” button.
Step 8 – Review and Approval
Snapchat’s team will review your lens submission, assessing its quality, functionality, and adherence to guidelines. The review process typically takes a few hours. When approved, your lens will be published to Community Lens, where it will be accessible to millions of Snapchat users.
Download and sharing Snapchat lenses through Lens Studio provides a unique opportunity to engage with a wide audience.